


The word “flapper” might bring to mind a fashionable woman from the 1920s, but when it comes to toilets, the definition is a bit different. A flapper is one of the most essential components of the average toilet. Without it, your toilet won’t work at all and will probably waste untold gallons of water. Fixing your flapper is as easy as dancing to a great jazz tune. If you’re not light on your feet, don’t worry: It’s still easy as pie.
If you can’t seem to find the correct flapper, don’t like working on your toilet, or discover your toilet problems run deeper than the flapper, we’re happy to help! Just give us a call at 972-395-2597.
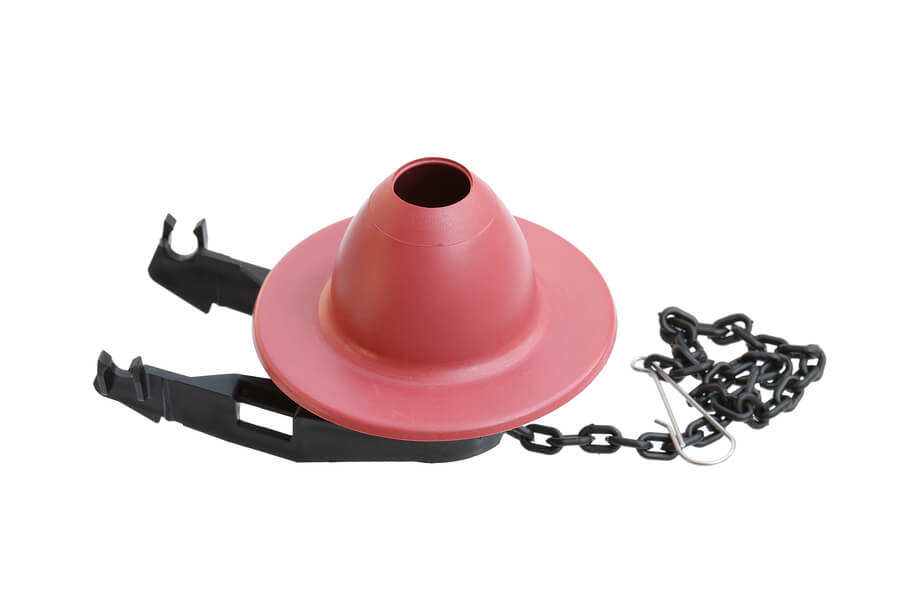
What Is a Flapper?
In the case of an average toilet, the flapper is the rubber mechanism found inside the toilet tank. The flapper creates a tight seal around the flush tube, preventing water from draining out of the tank until it’s time to flush. When you press the flush lever, it pulls on a chain that lifts the flapper upwards, allowing water to escape.
How Do You Know If Your Flapper Is Broken?
Flappers tend to deteriorate over time, usually because of their constant interaction with in-tank cleaning products and chemicals found in the water. They can cause the flapper to warp, crumble, and eventually lose its seal over the flush tube, allowing water to leak through.
If left unattended, a faulty flapper will leave you with a leaky toilet that eventually impacts your utility bill. In fact, a warped or poorly fitted flapper wastes up to 200 gallons of water per day.
There’s a very simple test to tell if your flapper is leaking. Add a few drops of food coloring to your toilet tank. You can also use a dye tablet specially designed for this purpose. Wait about 15 minutes after adding the dye. If there’s a water leak, you’ll see the color inside the toilet bowl.
Fixing Your Toilet Flapper: What You Need
Replacing a standard flapper is a relatively simple process that only takes a few minutes. Here are a few items you’ll need to get started:
- Disposable gloves – Many flappers have a protective film on them that can stain your hands and clothing, so wear gloves while fixing the flapper.
- A garbage can or bag – Have one handy, so you can throw the flapper right in without staining your tile or carpet.
- The right flapper for your toilet
Buying the Correct Flapper
You can find a toilet flapper at just about any home improvement store.
Size
Since toilets come in different shapes and sizes, their flappers can as well. Most toilets tend to use two- or three-inch flappers. The majority use two-inch flappers, but if your toilet is fairly new (made in 2005 or after), it could require a three-inch flapper.
If you’re not sure when your toilet was made or want to double-check the size of your flapper, there’s a very easy test. Take an orange or a tennis ball, and set it within the drain inside the toilet tank. If a tennis ball or orange sits perfectly within the drain, you need a two-inch flapper. A three-inch drain will be able to hold an item the size of a softball.
Material
You also have the choice between all-rubber flappers and hard-plastic frame flappers. All-rubber choices are the most popular and can fit even valves that are oddly sized or seated at an angle. Not all toilets can use a hard plastic frame flapper, but if your toilet already has one, it’s a good idea to get another of the same type. It can help prevent leaks in the long run.
If you are not sure what type of flapper you need, take yours to a home improvement or plumbing supply store to find either an exact replacement or one that comes close to your existing flapper. If your flapper is not a standard type, you may need the assistance of a plumber.
How to Fix Your Toilet Flapper
Now that you have everything you need and the right size and type of toilet flapper, it’s time to get started:
Step 1: Make sure the incoming water supply to the toilet tank is shut off.
Step 2: Remove the tank lid, and set it aside in a safe area.
Step 3: Press and hold the tank lever down until all water exits the tank.
Step 4: Detach the chain that connects the flapper to the tank lever, and remove the flapper, placing it in your garbage bag.
Step 5: Set the new flapper in place, and reconnect the chain to the tank lever.
Step 6: Turn the incoming water supply back on, and observe as the tank refills. There should be no leaks whatsoever.
Step 7: If all looks good, simply replace the tank lid.
Fixing a toilet flapper is inexpensive and tends to be a straightforward DIY project. If you follow these steps, the entire process should only take a few minutes.
If you run across problems, discover issues that extend beyond the flapper, or decide you want to replace your toilet, reach out to a professional. You can reach us at CW Service Pros at 972-395-2597 for any toilet or plumbing needs!