


There are several reasons you might want to replace a toilet handle:
- It’s rusted.
- It’s pocked.
- It’s broken.
- It’s too plain or old-fashioned for your tastes.
This is one plumbing job that’s fairly easy to do yourself. An upgraded plumbing handle may seem like a small thing, but it can refresh the whole room!
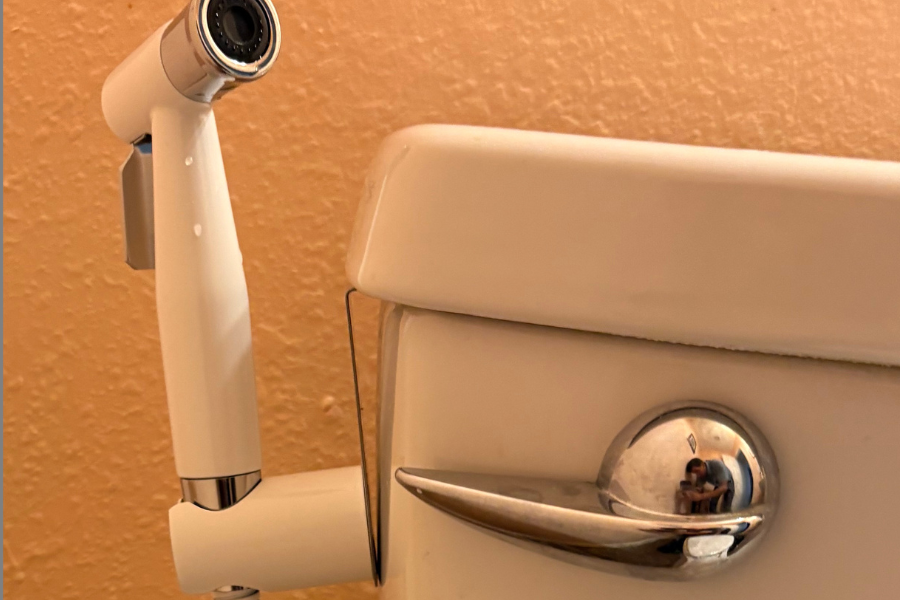
First, Understand How the Handle Works
Before diving into the replacement, it helps to understand how all the parts fit together.
You see the handle on the outside of the toilet tank, but it’s connected to a long arm inside. These two parts are connected. They are what you’ll look for when you go to the store for a replacement. It’s called the “toilet trip lever” or “toilet flush lever.”
When you push down on the handle, the arm inside the tank rises. A chain hangs from the arm, and it lifts the flush ball (or valve or flapper) from where it sits. When the flush ball rises, water from the tank flows into your toilet bowl. As soon as the tank is empty, the toilet flapper valve drops back into its place, stopping the flow of water.
Replace a Toilet Flapper
DIY
Buy a Handle Replacement
You can find a new toilet trip lever at any home improvement, plumbing supply, or hardware store. But before you go, know what you’re looking for. To do this, find the brand name and the model name or number of your toilet.
- Brand name – Usually printed on the outside of a toilet
- Model name or number – Usually printed inside of the tank. You’ll have to open the lid to see it.
Some toilet handles are labeled as “universal,” but there are typically differences in tank placement, the angle and length of the arm, and the style and finish. You’ll get a more reliable fit and function if you find a replacement that works with your toilet’s brand, so show the store employee the numbers you’ve written down. Bringing the old handle can help too.
The price of a flush lever for a standard toilet is typically under $20. For a high-end toilets or unusual finishes, it could be between $50 and $100.
Gather Your Supplies
Supplies are minimal for this DIY plumbing repair:
- New tank lever
- Crescent wrench
- WD-40 or other lubricant (in case the nut is rusted)

Replace Your Toilet Handle
Step 1: Turn Off the Water Supply
That’s the water supply to your toilet tank. Turn it off by twisting the valve located under or on the side of the toilet.
Step 2: Open the Tank
Lift the lid, and gently put it down out of the way. Porcelain is fragile, so set it on a towel where it won’t get bumped as you work.
Step 3: Unhook the Lift Chain
This is the chain connecting the long arm of the handle and the flush valve. The chain is connected to the arm by a clasp. Before you unhook it, note onto which hole the chain is hooked, so you can hook it to the same hole on your new lever.
Step 4: Remove the Old Handle
Use your crescent wrench to loosen up the metal nut that holds the handle in place. The nut is inside the tank, and it has left-handed threads, which means you’ll need to turn it in the reverse direction to normal nuts.
Once you’ve loosened the nut, use your fingers to unscrew it the rest of the way and remove it, sliding the arm through the hole.
Pro Tip: Be gentle! If your wrench slips, it could hit the toilet, cracking the porcelain.
Step 5: Attach the New Handle
Before securing the new handle, use a soapy sponge or scrubber to clean off any rust or mildew that’s built up on the porcelain around the handle hole.
Remove the metal nut from the new handle, insert the arm into the hole in the toilet, slide the nut back over the arm, and use your fingers to turn the nut onto the handle’s base. Grab your crescent wrench to tighten the nut, but don’t tighten too much, or it could crack the porcelain.
Step 6: Attach the Chain
Clip the chain back into the same hole on the new arm as it was on the old arm.
Step 7: Test Flush
While putting the chain in the same hole in the arm should allow the flush mechanism to open and close fully, some adjustment might be needed. If the chain is too loose, the tank won’t fully drain. If the chain is too tight, the flush valve may not seal, causing the toilet to continue to run..
Adjust the flush until it’s just right by switching which hole the chain is clipped to.
Once you’re happy with the flush, replace the tank lid, and you’re done!
Replacing a toilet handle is usually straightforward, but if you run across a problem, have a question about the type of toilet you have, or are ready for an updated model, reach out to a professional, like the ones at CW Service Pros. We are always here to help!